
Stellux LED郑州星极照电子产品有限公司
Request a stock check

article / Quality SOP / EN

Used LED Repair and Re-Test Workflow

How to connect the original symptom, corrective action, changed component and repeatable re-test result.By STELLUX Editorial · July 29, 2026
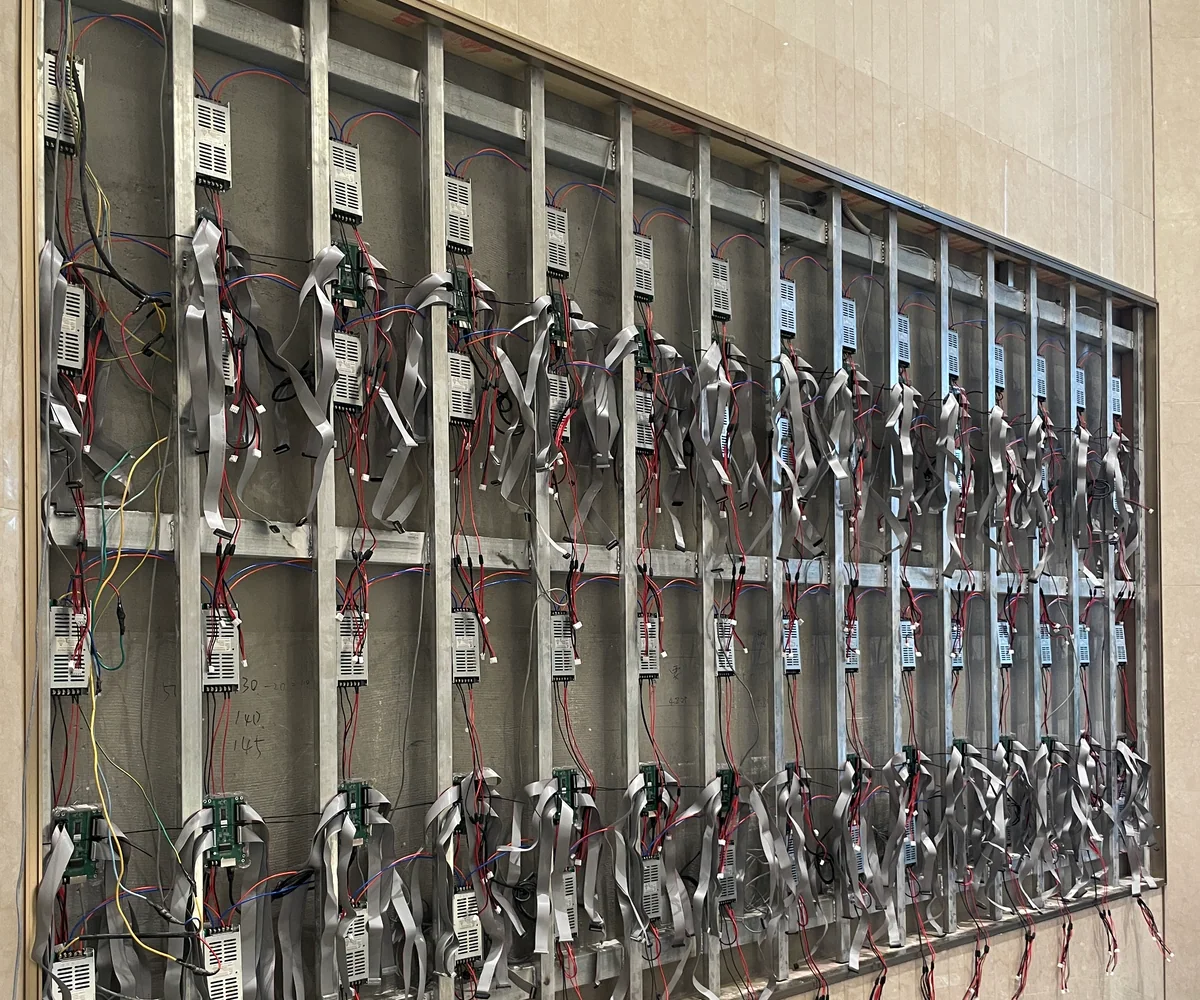
Power and signal wiring exposed during LED display service work
Key takeaways

Start from a recorded symptom

A repair record should begin with the cabinet identity, visible symptom and test that found it. Photograph the relevant area before removing a module, power supply, receiving card or cable.

Record the action

Note the changed part, connector work, soldering, configuration adjustment or calibration step. If parts are swapped between cabinets, both identities should remain traceable.

Re-test the same condition

Reassemble the cabinet and repeat the original colour, load or signal test. Add the result to the same batch history, then return the cabinet to aging only when the recorded symptom is cleared. The cover image shows real service access and wiring, not a batch-specific repair certificate.

FAQ

Frequently asked questions

Is any repair a negative sign?

Not automatically. A documented repair followed by a successful repeat test can reduce uncertainty. The risk is an undocumented change with no linked result.

RELATED ARTICLES

Continue reading

How Used LED Display Grading WorksA practical guide to age codes, cosmetic condition and functional evidence.Why a 72-Hour Aging Test MattersIntermittent faults often appear only after extended operation.Used LED Export Packing ChecklistWhat should be documented before a used LED shipment leaves the warehouse.

COMMUNITY

Comments 0

No approved comments yet. Start the discussion.